Has your child’s beloved stuffed animal lost an appendage? Don’t despair! Sewing a stuffed animal’s arm, leg, or other body part back on is easier than you may think. With some basic sewing skills, supplies, patience, and love, you can restore their toy to them good as new in no time.
If you’re pressed for time, here’s the quick answer: You’ll need a ladder stitch, some coordinating thread, a hand-sewing needle, fabric glue or pins, scissors, and stuffing. Align the torn edges, secure with glue or pins, neatly sew the edges with a ladder stitch, stuff firmly, and knot off. Voila!
Good as new.
Assess the Damage and Gather Your Supplies
Check how the arm was originally attached
When a beloved stuffed animal loses an arm, it can be truly heartbreaking. But with some basic sewing skills and supplies, their arm can be reattached good as new in no time! The first step is to closely inspect where and how the arm was originally connected.
Was it sewn on with straight or zig-zag stitches? What type of stitching thread was used? Examining the detached arm and torso carefully will provide valuable clues to replicate the original attachment method.
You’ll also want to look inside the opening where the arm used to be attached. Make sure the interior filling and any inner materials are still in place and secure. If the interior filling is compromised or leaking out, that will need to be remedied so you have a solid base for reattachment.
Acquire necessary sewing tools and materials
Now it’s time to gather supplies! At a minimum, you’ll need a sewing needle and strong thread that matches or complements the stuffed animal’s fur or fabric. Embroidery floss or upholstery thread are great options. You’ll also need scissors, pins, and a sewing awl if re-punching holes is necessary.
A miniature ladder stitch will produce an almost invisible seam. Or opt for a whip stitch or blanket stitch if you want decorative seam lines.
Here are some additional tools and materials that could come in handy:
- Extra filling to restuff exposed areas
- An iron-on fabric patch to reinforce the repair area (especially for high wear spots like joints)
- Fabric glue and a toothpick for seam reinforcements
- A thimble to push the needle through thick fur or fabric layers
- Magnifying glasses for delicate work
- A butterfly clamp to hold pieces together hands-free
While specialized products from a craft store are great, you can also improvise with everyday items around the house. Cotton swabs or a drained ballpoint pen filled with sugar make perfect funnels for restuffing. Newspaper or paper towels can substitute for professional stuffing materials.
And don’t overlook your medicine cabinet – wax paper and medical tape can assist repairs in a pinch!
| Basic Supplies | Specialty Tools (Optional) | Makeshift Alternatives |
|---|---|---|
|
|
|
Armed with the right tools, it’s time to prep for surgery – stuffed animal style! With some patience and TLC, their floppy arm will be restored in no time. Who knew home repairs could be so cute?! 🧸😊👏 And remember – even experienced sewists had a first stitch somewhere. Don’t be intimidated.
You’ve totally got this!
Reattach the Arm
Align the torn edges
When a beloved stuffed animal loses an arm, it can be devastating. But with some basic sewing skills and supplies, you can easily reattach the arm and restore your furry friend to their former glory. The first step is to align the torn edges of the arm and shoulder.
Make sure the fabric pieces match up evenly with no overlap or bunching. Pinning them in place temporarily with sewing pins helps keep everything together while you work.
Secure the edges temporarily with glue or pins
Once aligned, secure the edges by applying a small dot of fabric glue or by placing pins about 1 inch apart. This keeps the seam from shifting while you sew. Some people find it helpful to draw a seam line in washable marker right along the torn edge before gluing and pinning.
This helps guide the stitching and keeps it straight and even for a more professional result. The right preparation leads to high-quality outcomes!
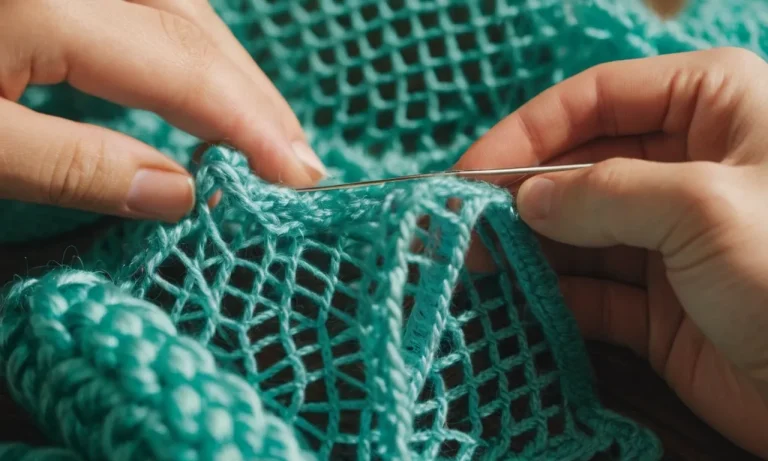
Sew the edges together using a ladder stitch
The ladder stitch, sometimes called the invisible stitch, is perfect for attaching your stuffed animal’s arm because it is nearly invisible. Working from the inside with matching thread, bring the needle up through one side about 1⁄4 inch from the torn edge, then go across and take a 1⁄4 inch stitch in the top edge.
Continue down and up, down and up, as if climbing a ladder. Keep the tension loose and stitches small for the best invisibility. Going slow and carefully is worthwhile to properly execute the ladder stitch. When finished, the seam should practically disappear into the fur!
Stuff firmly with additional stuffing
Before closing up the last bit of the seam, firmly stuff the reattached arm with new poly-fil stuffing. Pack it in tightly, matching the firmness of the rest of the stuffed animal’s body. Under-stuffing will cause the arm to appear limp and floppy over time.
Over-stuffing can lead to ripped seams from too much tension. Stuffing well as you go helps create a smooth contour all along the shoulder so no lumps, bumps or flat spots occur. Your furry friend deserves the highest quality arm reattachment possible!
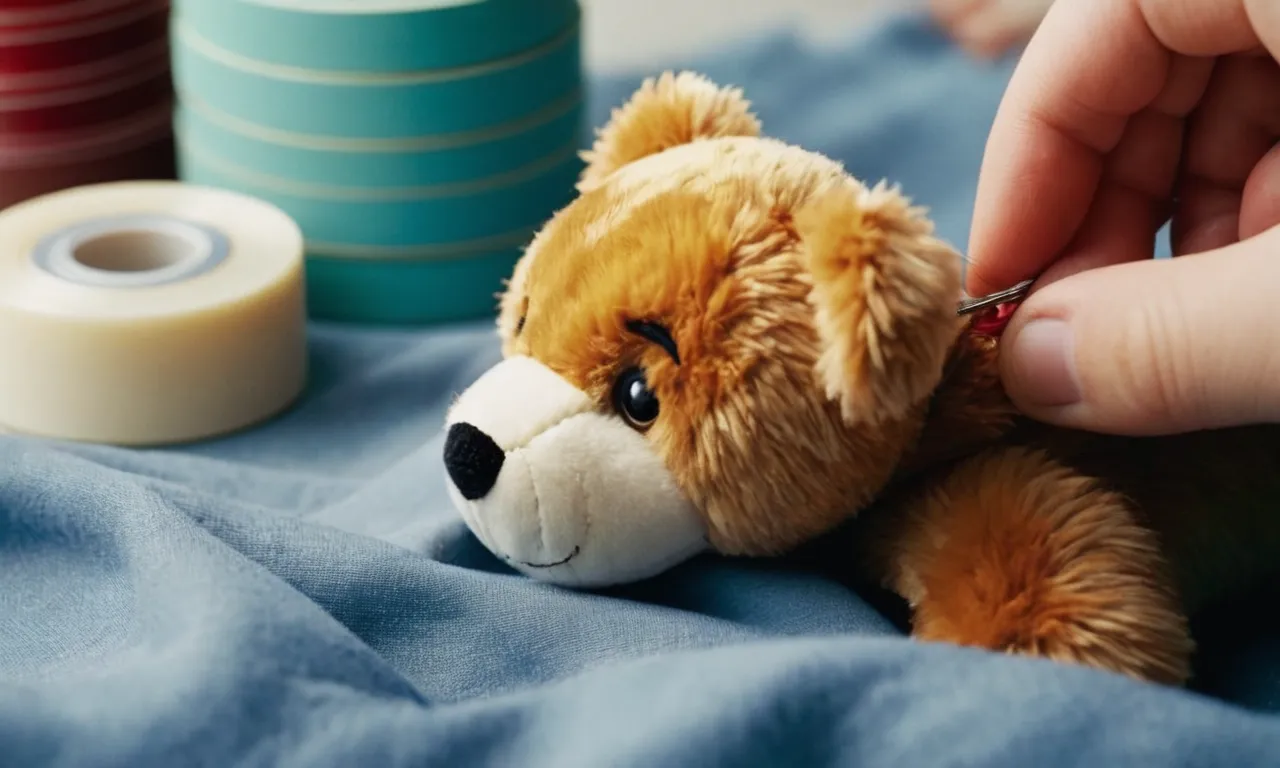
Knot off neatly and hide stitches
Complete the arm reattachment by knotting off the thread securely at the end of the seam, then use the needle to draw the tail end of the thread inside the stuffed animal’s body before snipping off any excess. For added security, dot a tiny bit of fabric glue on the knots before pulling them inside.
This reduces any risk of loosening over time with play or washing. Finally, use a stiff brush like a pet slicker to fluff and arrange the fur over the shoulder seam to hide stitching and make the repair practically undetectable! Voila – as good as new in no time!
Reattaching a beloved stuffed animal’s arm requires precision, care and time. But the effort pays off when you see the joy on your child’s face having their special friend lovingly restored and ready for more fun and adventures together!
With a bit of sewing skill and stuffing, you can fix up any worn stuffed animal like new.
Perform Any Additional Mending or Touch-Ups
Mend any small holes or weak seams
After reattaching your stuffed animal’s arm, carefully go over the rest of it to check for any other loose threads, small holes, or weak seams that need mending. It’s best to reinforce these trouble spots now before they become bigger problems down the road.
Use matching thread and either hand or machine stitching to fix them. Some key areas to inspect are:
- Behind the eyes
- The back seam of the neck
- Under the arms
- The inner thigh seams
Going over these places with a fine-tooth comb allows you to nip any issues in the bud and helps extend your plush pal’s lifespan. So take your time and don’t overlook even minor flaws—they can quickly get larger with normal wear and tear. A little preventative care goes a long way!
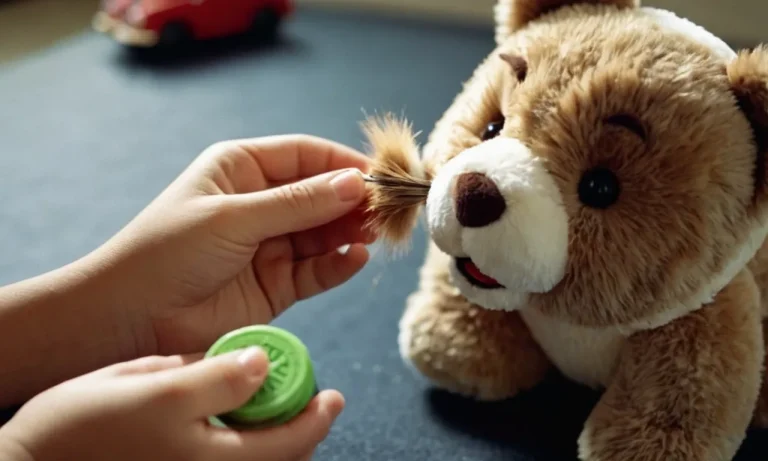
Groom the fur if needed with a lint brush
While checking your stuffed friend for damage, you should also groom their fur coat. Give them a good brush down with a clean lint brush or sticky roller if you notice any dust, dirt, or pet hair clinging to the fibers.
Pay special attention to frequently touched places like the paws, belly, ears, and face since debris tends to accumulate there over time.
| Area | Grooming Tips |
|---|---|
| Paws | Use tweezers to carefully pluck out embedded carpet lint or threads trapped between the toes. |
| Belly | Lightly scrape a slicker brush across the nap to lift out embedded crumbs or dirt. |
| Ears | Use a small vacuum crevice tool to suck up dust and dander around the creases and folds. |
You’ll be amazed at how much brighter and softer your stuffed friend looks after a good grooming session! It really helps revive their fluffy appearance.
Spot clean any dirty areas
If you come across tough set-in stains on your plushie’s coat, don’t panic. There’s hope! Spot cleaning can lift or reduce many types of buildup. Mix a gentle soap like Woolite with warm water in a small bowl until sudsy.
Dip a clean cloth into the solution, wring out excess moisture, then very gently blot the affected area, taking care not to oversaturate the stuffing inside.
Rinse the cloth well, re-wet it with plain water, and dab the stain again to remove soap residue. Then blot dry with an old towel, using rice or cornstarch to speed up drying if needed. Let your pal sit for a few hours to fully air dry before continuing to play.
And voila…they’re fresh and clean again!
By taking the time to give your treasured friend some extra TLC after surgery, you’ll help ensure they stay huggable and beloved for many more years of fun and memories ahead 😊👏🎉.
Tips for Preventing Seam Rips
Supervise play to prevent overly rough handling
Carefully supervising playtime can go a long way towards preventing seam damage. Young children may get overexcited playing with stuffed animals and inadvertently pull on ears, limbs, and tails too hard. Gently remind them to be soft and careful.
You can also set agreed upon rules for play, like no throwing or tug-of-war games that could strain the seams over time.
Consider adding reinforced seams
If your child’s favorite stuffed pal is starting to show wear, protect vulnerable areas by sewing reinforcements. Use tight, durable stitches with strong upholstery thread to sew additional seam allowances.
Pay special attention to appendages, cloth joints where limbs meet the body, and facial features subject to frequent grasping. This helps disperse tension from play. You can also use iron-on adhesive patches as added seam support.
Store safely when not in use
Proper toy storage can reduce chances of damage when plush toys are not being played with. Avoid cramming them tightly on shelves or tossing in bins with hard toys. The compression can weaken and stress seams over time. Instead, allow adequate space for each stuffed animal to retain its full shape.
For extra protection, place very delicate toys in breathable storage bags before putting them on the shelf. Keeping play areas and storage spaces free of sharp edges is also important to prevent snags.
With extra care and handling, your child’s special stuffed pals can last for years to come. Supervising play encourages good toy care habits, reinforcements protect vulnerable spots, and safe storage spaces prevent excess wear.
Show your child how to check seams for holes and loose threads so they can alert you when their toys need minor repairs. With some basic preventative measures, you can help preserve treasured plush companions.
Conclusion
With some basic sewing skills and supplies, you can easily reattach your little one’s beloved stuffed friend’s arm, leg or other part. Align the edges, secure with glue or pins, ladder stitch neatly, stuff firmly, and voila – good as new! A few preventative measures can help avoid future tears too.
Most importantly, your time and effort will mean the world in preserving your child’s special toy.