Has your favorite stuffed animal seen better days? Over time, plush toys can become flattened and misshapen from frequent love and wear. If you want to revive a treasured stuffed friend to their original glory, restuffing is the solution.
In a hurry? Here’s the quick answer to restuffing a stuffed animal: First sew up any holes and clean the plush. Then add new poly-fiber stuffing a bit at a time, distributing evenly and packing firmly as you go. When full, hand-sew up the opening.
This comprehensive guide will walk you through every step of the restuffing process in detail, from gathering supplies and preparing your plush to techniques for optimal filling. Read on to learn insider tips that will have your threadbare teddy back to new and cuddly again.
Assessing Your Stuffed Animal and Gathering Materials
Determine if your plush is a good restuffing candidate
Before beginning any stuffed animal restuffing project, it’s important to thoroughly examine your plush to determine if it’s suitable for a DIY revamp. Gently feel around for any major tears, holes or rotting fabric that would need intensive repairs beyond basic stitching.
Also check that the outer shell is still sturdy enough to withstand being restuffed.
While small holes or minimal wear can be patched up during the restuffing process, a stuffed animal with extensive damage likely isn’t worth salvaging. However, even ratty childhood loveys that are too delicate to save can be used to pattern and sew brand new plush replacements.
Select high quality poly-fiber stuffing
Choosing a premium poly-fiber stuffing is key for a successful stuffed animal restoration. Look for a soft, hypoallergenic polyester filling that meets safety standards. Queen’s PURE
Poly Pellets and Fairfield Poly-Fil Premium Stuffing are top choices used
by professional plush artists.
Opt for a small-granule stuffing type, which allows more precise control over the final shape and firmness. Avoid cheaper bargain stuffings, like pillow or cushion stuffing, which compress too much over time.
| Stuffing Material | Benefits |
|---|---|
| Premium Poly Fiber | Lasting fullness, hypoallergenic, easy to work with, washable |
| Bargain Stuffing | Cheaper but compresses quickly, not ideal for long term use in plush toys |
Other tools and materials you’ll need
Along with high-end stuffing, there are a few other must-have materials for DIY stuffed animal restoration:
- Sharp fabric scissors
- Hand-sewing needles
- Matching sewing thread
- Polyester fiberfill stuffing
- Funnel (to fill small plush areas)
- Fabric glue (for repairs)
Optional extras include glass toy eyes, handheld mini vacuum (for easier stuffing removal), and a seam ripper. With quality supplies and some patience, even novice sewers 😊 can breathe new life into ragged, deflated plush pals.
Preparing the Stuffed Animal for Restuffing
Sew up any holes or weak seams
Before restuffing your beloved stuffed friend, carefully inspect them for any small holes, rips, loose threads, or weak seams that could easily tear open wider once restuffing begins (nobody wants loose stuffing everywhere!).
Armed with a needle and strong upholstery thread, sew closed any weak spots so there are no openings for the new stuffing to escape. Be sure to secure the thread tightly for maximum durability. Make several tight stitches over loose seams to reinforce them.
This preparatory mending step makes all the difference for a successful restuffing job.
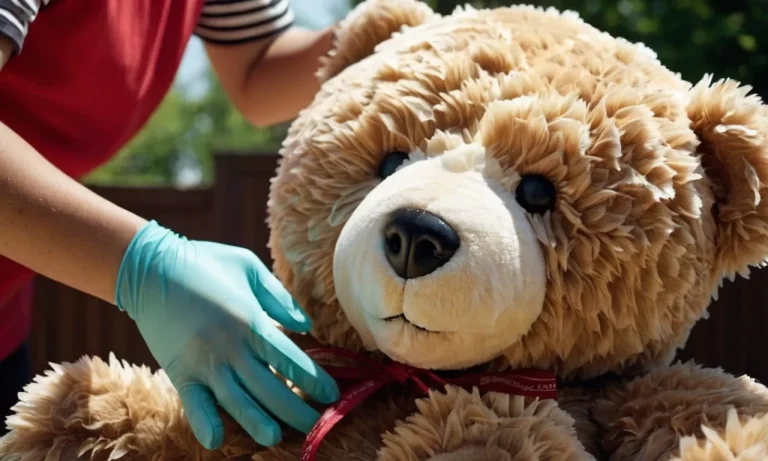
Wash and thoroughly dry the stuffed animal
A good bath is also in order before restuffing. Machine wash your plush pal in cold water on a gentle cycle, using a small amount of mild detergent. Avoid using fabric softener as that could leave behind a coating that blocks the stuffing.
Be sure to run the stuffed animal through two rinse cycles to fully remove all soap residues that could interact with new stuffing fibers over time. After washing, air dry the plush completely which could take 24-48 hours if they are large or dense.Stuffing wet plushies allows mold and mildew to grow inside, destroying your efforts!
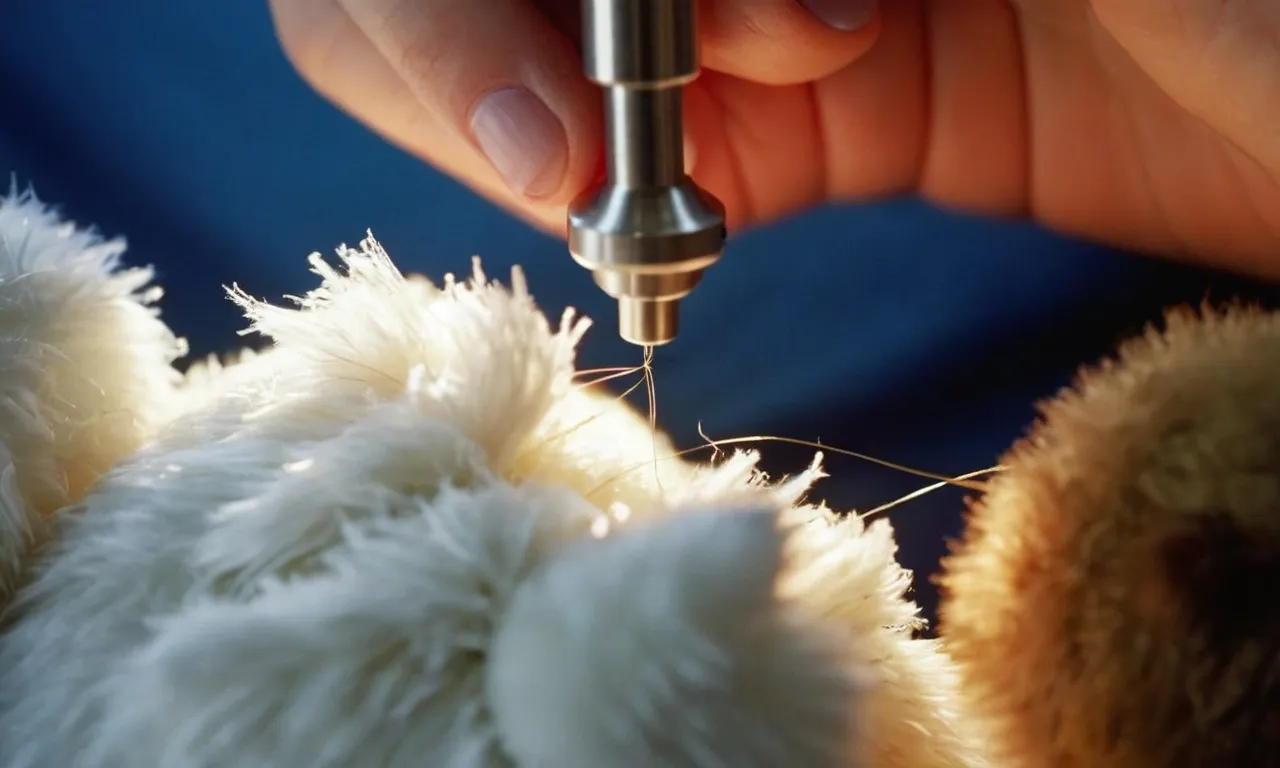
Carefully unstitch an opening on the plush
The final step in preparation is to open up a stitching seam to expose the stuffing cavity. Choose an inconspicuous location like the bottom or side seam rather than prominently on the front. Using a seam ripper tool or small sharp scissors, carefully remove 3-5 inches of stitches to create an access point, being cautious not to rip the fabric. Only unstitch as much as needed to remove the old stuffing and insert new fill material.
The opening should be just large enough to fit two fingers inside comfortably. Have extra matching thread available to resew the seam closed when restuffing is complete. Now the empty plush shell is ready for clean new fluff!
Stuffing Techniques for Plump, Pillowy Plush
Add small amounts of stuffing at a time
When restuffing a stuffed animal, it’s important not to overfill any one section. Adding too much fluff at once can make areas bulge out awkwardly. For the floppiest, snuggliest results, only add a handful of stuffing at a time.
This allows you to distribute fibers evenly and create an all-over plump appearance.
Distribute stuffing evenly as you fill
As you fill a stuffed animal, continually massage and fluff the material to spread it out. Pull stuffing into flattened corners and underfilled limbs. Regularly turn and tilt the plush to identify low points. Targeting flat spots ensures every part regains full dimension.
Thorough, even distribution creates the signature pillowy feel associated with high-quality plush pals.
Pack firmly to avoid lumps or gaps
While moderate stuffing is recommended, also avoid packing too loosely. Gently but firmly press additional fiber into your furry friend to create an all-over firmness. Loosely-filled areas may lose shape quickly and resume the unappealing dents and wrinkles you’re trying to correct.
Overly loose stuffing also allows material to migrate and pool, creating visible lumps and valleys over time. Find the happy medium of densely packed but squishy for best results.
Target especially flattened areas first
When deciding where to focus stuffing efforts, start with the flattest, hardest-hit areas. Limbs often show sagging and wrinkling first as stuffing compacts. Re-inflating compressed arms and legs should be top priority.
Plush toys sit or lay the majority of the time, so their underside is also prone to flattening. Turn your pal over and give its belly and bottom some extra TLC during restuffing.
| High-Quality Stuffing Material | Quantity Needed |
|---|---|
| Premium polyester fiberfill | 1-3 bags per toy depending on size |
| Hypoallergenic bamboo or wool | More expensive but provides excellent shaping, resiliency |
With some patience and targeted attention, you can transform your kids’ sagging stuffed animals into huggable bedtime partners once again. For more tips, check out this DIY plush restoration guide.
Closing Up and Finishing Touches for a Successful Restuff
Hand-sew the opening closed tightly
After stuffing your plush animal full of fresh fluff, it’s time to hand-sew the opening closed very tightly. Make sure there are no gaps in your stitching or stuffing may poke out over time. Use a needle and extra-strong thread like upholstery thread.
We recommend a tight ladder stitch or a whip stitch pulled snugly. Take your time and check to ensure there are no spaces between stitches before tying off securely.
Use a ladder stitch for invisible seams
For the most professional, invisible look, the ladder stitch is your best bet. This stitch catches just a few threads in the fabric on each side so the thread tucks discreetly inside. Work slowly and methodically for the neatest finish. The results will look seamless…literally!
😉 An added bonus is that a ladder stitch seam is very durable over years of love and use.
Fluff and shape the rejuvenated plush
You preserved your cherished friend and gave it new life! Now comes the fun part – use your fingers, a dog brush, or comb to fluff out and shape the stuffing for maximum squishy huggability. Sculpt rounded body contours, fill out the limbs, and make sure the stuffing reaches every nook and cranny.
Add or remove small amounts until your rebuilt plush feels “just right” to match how you remember it.
Tips for maintaining freshly stuffed plush
- Gently machine wash and air dry when dirty
- Store in a dust-free environment like a closet or drawer
- Consider purchasing a display case for collectibles
- Avoid keeping near direct heat or sunlight to prevent fading
With some basic care, your revitalized, fluffy friend will stay looking great and keep giving hugs for years to come! Many owners say their restuffed plush buddy looks even better now – almost like new! 👍 So snuggle your childhood companion or showcase your collectible and enjoy!
Conclusion
With some basic sewing skills, specialty stuffing, and patience, you can breathe new life back into beloved but worn stuffed animals. Follow these comprehensive steps to restore flattened, pancaked plush to their original perky, pillowy glory.
Soon you’ll have a revived stuffed friend ready for many more years of hugs and snuggles.
Knowing how to properly restuff cherished plush pals allows you to repair treasured childhood toys rather than having to replace them. With a bit of time invested, the rewards of extra years with your special stuffed animal friend will be priceless.