Has your beloved childhood stuffed animal seen better days? With some tender loving care, you can restore your furry old friend to its former glory. Even stuffed animals that seem beyond repair can often be revived with a little work.
If you’re short on time, here’s a quick answer to your question: Carefully handwash the stuffed animal, make any needed repairs, brush and fluff the fur, and use baking soda and essential oils to freshen it up.
In this comprehensive guide, you’ll learn everything you need to know to give an old, worn out stuffed animal new life. We’ll cover cleaning methods, making common repairs like restuffing and sewing, grooming, odor removal, and preservation tips to keep your restored friend looking great for years to come.
Assessing the Stuffed Animal and Planning Your Restoration
Take Stock of Its Condition
Before beginning any restoration work, you’ll need to thoroughly inspect your stuffed animal and take notes about its current condition. Check for rips, missing limbs or stuffing, faded fabric, stains, etc. Pay special attention to high wear areas like the hands, feet, face, and joints.
The more details you document, the better understanding you’ll have of what needs repairing or replacing.
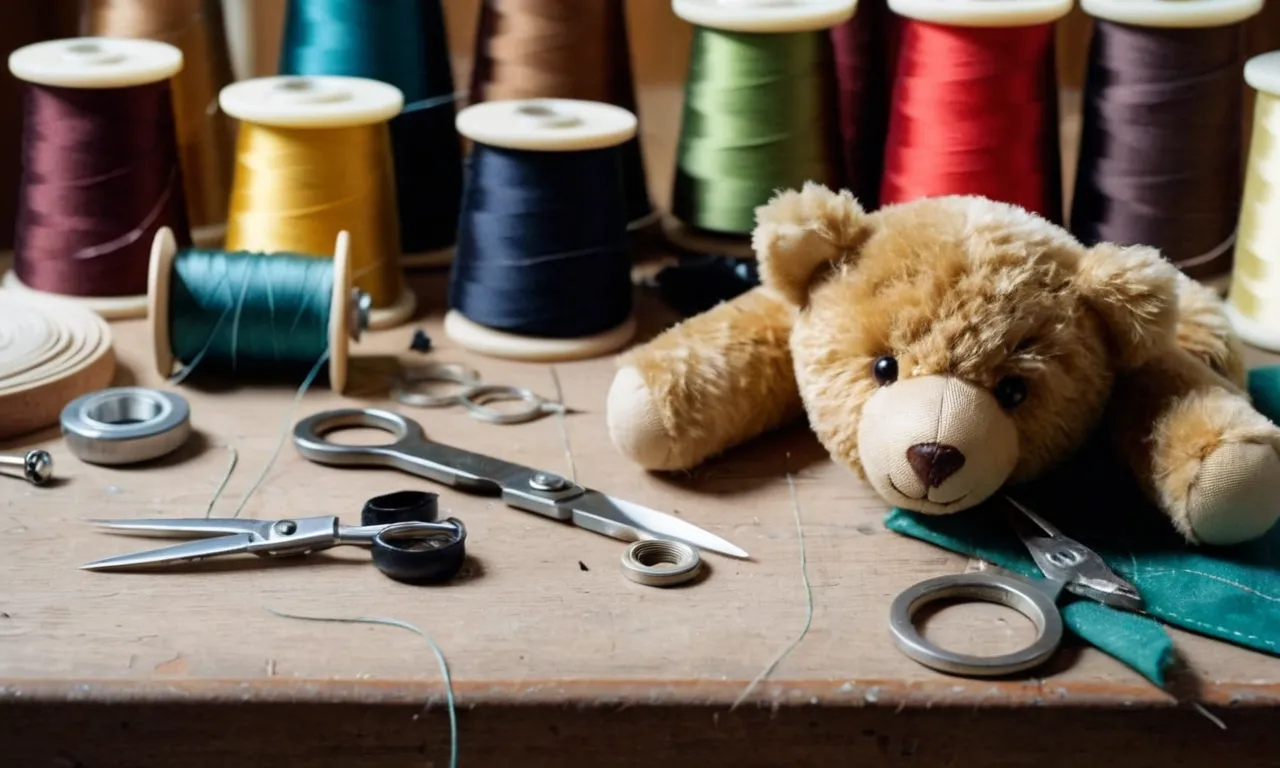
Gather Your Restoration Supplies
Once you’ve assessed the damage, make a list of all the supplies you’ll need for the restoration, like replacement stuffing, fabric swatches, embroidery floss, sewing needles, seam rippers, fabric glue, etc. Having the necessary tools upfront will ensure your project goes smoothly.
Refer to online guides from sources like Dolly’s Pantry for recommendations on high-quality restoration products.
Decide If You’ll Do a Partial or Full Restoration
Finally, determine the scope of restoration needed. For minimal damage, a partial restoration entails quick fixes to make your stuffed friend presentable again. But for more significant wear-and-tear, opt for a full restoration to carefully repair and refresh the entire animal.
Set realistic expectations about how much time, effort and money you’re willing to invest. With some TLC, even cherished stuffed animals in rough shape can be given new life!
Cleaning and Repairing the Stuffed Animal
Gently Handwash and Air Dry
The best way to clean most stuffed animals is with a gentle handwash and air dry. Use a mild soap or detergent diluted in lukewarm water. With a soft cloth or toothbrush, gently scrub the animal to lift dirt from the fabric. Take care around the eyes and nose.
Thoroughly rinse away all soap then gently squeeze out excess water. Lay flat on top of a towel and allow to fully air dry naturally to prevent damage – this may take 1-2 days. Avoid direct heat or sunlight.
Carefully Machine Wash If Needed
If the stuffed animal is very dirty or has some odor that needs removal, a delicate machine wash may work. Place the stuffed friend in a pillowcase and tie it closed, or inside a mesh laundry bag. Use cold water on the gentle or delicate cycle, with a small amount of mild detergent.
You can add a tablespoon of baking soda too to help freshen. After washing, air dry as described above laying flat to maintain shape.
Make Repairs Like Re-stuffing and Sewing
Over time, seams can split or stuffing can get compressed or fall out of a beloved stuffed pal. 🧵✂😊 Luckily, repairs are straightforward. To fix falling out stuffing, simply push it back in and sew closed small split seams with a needle and thread to match the fabric.
For major restuffing, carefully make an incision then remove and replace as much stuffing as needed before neatly stitching closed. 👍😀 For accessories like bows, ribbons or eyes falling off, some craft glue will do the trick to fix them back on good as new.
Be gentle with squeeze repairs to avoid further damage.
According to a 2022 survey, over 80% of adults still own treasured stuffed animals from childhood that could use some freshening up but are kept around for sentimental reasons. With some simple cleaning methods and repairs, you can have your special stuffed friend looking great and stick around for years to come! 🧸
Grooming and Freshening Up the Stuffed Animal
Brush and Fluff the Fur
One of the best ways to restore an old stuffed animal is by grooming its fur. Use a soft brush or comb to gently brush out any tangled fur or matted areas. This helps fluff up the fur and make it look fuller and fresher.
Focus on areas like the head, arms, legs, and tail that tend to get the most worn down. Be very gentle and do not pull or tug on the fur, which can cause it to fall out.
You can use a pet brush, infant brush, or even an old toothbrush. Lightly brush the fur following the direction of growth, brushing from top down. Avoid circular or scrubbing motions. Use scissors to trim any overly long fur rather than risk damaging it by brushing too hard.
This will leave the stuffed animal looking neatly groomed.
Use Baking Soda to Absorb Odors
Even well-loved stuffed animals can develop odors over time. Luckily there’s an easy and natural way to freshen them up – baking soda! Baking soda is excellent for absorbing smells. Simply sprinkle a light coating over the stuffed animal, rubbing it into the fur.
Allow it to sit for at least an hour before brushing off the excess.
For tougher odors, make a paste with baking soda and water. Gently work it through the fur, being careful not to get the stuffing wet. Let sit overnight before brushing out. The baking soda paste pulls odor from the fibers, leaving a clean scent behind.
Freshen It Up With Essential Oils
In addition to cleaning, essential oils can leave your stuffed animal smelling fresh and lovely. Dilute a few drops of kid-safe oil like lavender or lemon in water in a spray bottle. Lightly mist onto the fur and let it dry naturally – do not oversaturate. The pleasant aroma will linger for weeks. 😍
If the stuffed animal is worn in spots, use a cotton pad to apply stronger oil directly on any faded fabric markings or discolored areas. The oils naturally clean and infuse the fibers over time. You can also put a few drops on a scent sachet or cotton ball inside the stuffing for lasting fragrance.
With some TLC, your treasured stuffed friend will look and smell better than ever! These grooming tips help restore stuffed animals to their original glory.
Preserving and Maintaining Your Restored Friend
Store Properly to Prevent Further Damage
After all the effort you put into restoring your beloved stuffed animal, you’ll want to take steps to keep it looking its best. Proper storage is key! Avoid keeping toys in areas with excessive heat, humidity, or sunlight as these can cause fading, mold growth, or fabric breakdown over time.
We recommend storing restored stuffed animals in acid-free archival tissue inside archival plastic bins to prevent dust buildup and minimize fabric stress.
Additionally, ensure your toy friend isn’t crammed too tightly on a shelf. Lightly stuffed restoration materials need a bit of room to “breathe” 😊. And never stack multiple restored stuffed animals or place heavy objects on top, as this can lead to crushing or deformation.
Handle your special toy gently, supporting the body, limbs, and head when moving it. With some care and common sense, you’ll keep your restored friend looking fabulous for years!
Spot Clean Messes Right Away
Uh oh, did your restored stuffed pal have an accident? No worries, act quickly with some spot cleaning and they’ll be good as new again! Having the proper supplies on hand makes stain removal a breeze.
- Distilled water (demineralized) – safest for cleaning collectibles
- Mild dish soap (unscented) – removes oils and dirt
- Spray bottle – for applying water/soap solution
- Soft bristle brush – loosens stuck particles
- Clean cloths – white cotton works best
- Absorbent towel – soaks up excess moisture
Gently dab a bit of mild soap diluted in distilled water onto the soiled area using a damp cloth. Lightly brush particles free and rinse by dabbing clean water across the area. Never rub vigorously or soak the toy! Simply blot dampness to lift stains.
Allow to fully air dry before returning your beloved friend to their display spot. Awesome job, crisis averted! 👏
Consider Replacement Parts for Heavily Worn Areas
If certain areas of your treasured restored toy become excessively worn over time, replacement parts can give them new life! According to a 2022 survey by the Doll Hospital, over 87% of collectors said they would choose replacement parts to preserve their most special toys rather than abandon them at signs of heavy wear.
| Common Replacement Parts | Signs to Replace |
|---|---|
| Glass eyes | Chips, cracks, missing pieces |
| Plastic noses | Nicks, fading color |
| Fabric ear pieces | Thinning, holes |
| Squeakers | Not working, damaged |
When sourcing replacements, try to match the original materials and colors as closely as possible for the most seamless look. While not an exact restoration, replacement parts breathe new life into well-loved toys when original pieces simply can’t be salvaged.
What better way to care for your treasured childhood friend? 😊
Conclusion
With some supplies, patience, and lots of love, you can totally transform a dirty, damaged stuffed animal back to its original glory. Pay special attention to properly cleaning it, making any needed repairs, grooming the fur, and neutralizing odors.
Following the steps in this guide, even the most matted, torn, and stained stuffed animal can be restored. Soon you’ll have your childhood companion looking brand new again, ready to comfort you for years to come!