Do you want to create a custom stuffed animal that will be cherished for years to come? Making a stuffed animal by hand can be a fun and rewarding DIY project. If you’re short on time, here’s a quick answer to your question: The key steps are choosing an animal design, gathering supplies like fabric and stuffing, cutting out pattern pieces, sewing the exterior, stuffing the animal, and adding final decorative details like eyes.
Read on below for in-depth instructions on how to make professional-looking stuffed animals in your own home.
In this comprehensive guide, you’ll learn everything you need to make cute and cuddly plush creatures. We’ll cover tips for beginners, how to choose fabrics and stuffing materials, easy animal designs and templates, sewing techniques, stuffing methods, and ideas for customizing your homemade stuffed animals.
Getting Started with Stuffed Animal Making
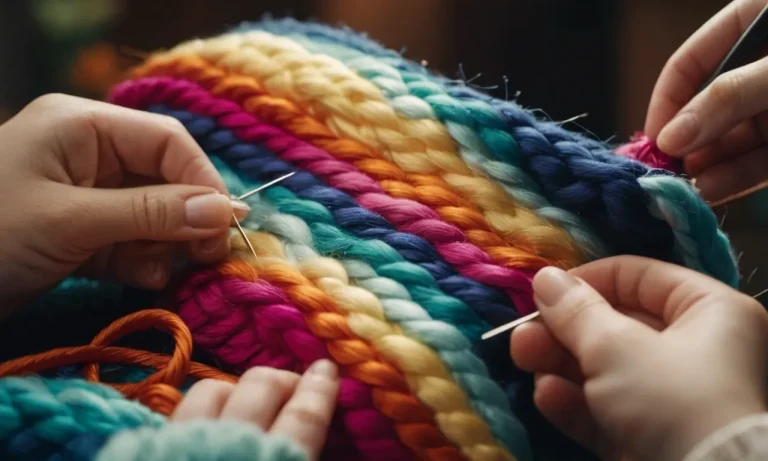
Best Fabrics for Stuffed Toys
When selecting fabrics for handmade stuffed animals, softness is key for creating cuddly, huggable toys. The most popular choices are
,
,
, and
. Fleece is soft, durable, and easy to sew. Flannel has a wonderful brushed texture. Corduroy gives a plush, velvety feel.
And minky is luxuriously soft and silky.
Other great fabric options include
for no-sew crafts,
that are washable, and
that mimic animal coats. Stay away from burlap, canvas, or scratchy wool blends. When sourcing fabrics, purchase 1⁄4-1⁄2 yard of each material per stuffed animal to ensure you have enough.
Essential Tools and Materials
Sewing stuffed animals requires just a few essential tools. Anbasic supplies include:
- Sewing machine
- Hand-sewing needles
- Thread – all-purpose polyester or cotton thread works great
- Fabric scissors and/or rotary cutter
- Straight pins and needle threader
- Poly-fiber stuffing material – synthetics like polyester or hollofiber
- Fabric glue, hot glue gun, and glue sticks
- Pencil and paper – for patterns and design
- Sewing machine needles – universal or microtex sharp, sizes 70/10-80/12
Having these basic sewing supplies on hand will equip you to create a wide range of stuffed animals and plushies.
Safety Tips for Sewing
When sewing stuffed toys by hand, following key safety guidelines will prevent injuries:
- Work in a clean, uncluttered area with good lighting
- Pay close attention whenever using sharp tools like fabric scissors or rotary cutters
- Unplug hot glue guns after each use and allow to fully cool before handling
- Be careful not to burn fingers on high-temp glue guns – use glue stick, not hot liquid glue
- Keep pets and small children away from small pieces and tools
- Take breaks to rest eyes and hands to prevent fatigue and repetitive stress
Additionally, be very cautious when sewing near machine needles to avoid puncture wounds. Going slow and following common sense safety measures will ensure stuffie-sewing is accident and injury-free.
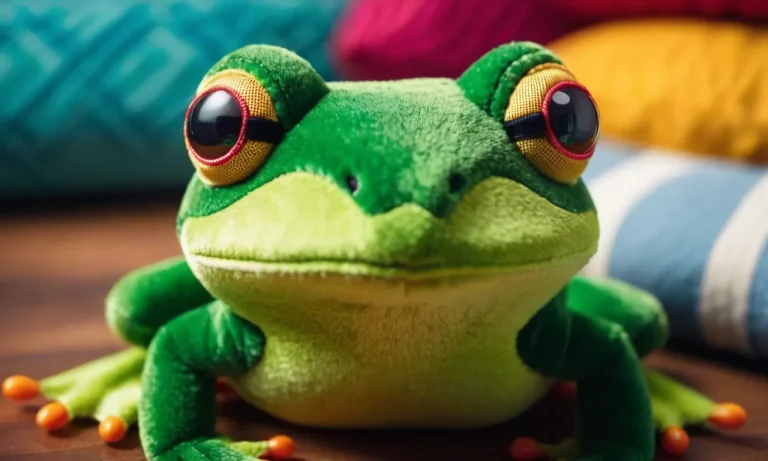
Choosing an Animal Design and Pattern
When deciding what stuffed animal to sew, consider fun creature designs like:
- Teddy bears
- Cats
- Dogs
- Bunnies
- Monkeys
- Elephants
- Unicorns
- Dragons
Look online or get creative and draw your own pattern! Print out templates if available or trace shapes onto paper and fabric. Most animals use basic body shapes – ovals, spheres, cylinders – that can be crafted from scratch. Starting simple for beginners can still produce professional plush results.
Preparing the Fabric and Pattern Pieces
Taking Body Measurements
The first step in creating your own custom stuffed animal pattern is to take accurate body measurements of the animal you want to make. Measure key parts like the head, torso, arms, legs, etc. Record these numbers to later calculate dimensions for your pattern pieces.
Having correct proportions from the start will ensure your finished stuffed critter looks balanced and realistic.
Calculating Fabric Yardage
Once you know the desired measurements of your plushie project, some simple math will determine how much fabric you need to purchase. Generally, the formula is: Finished width x finished length divided by 36″. Don’t forget to account for nap or pile if using fleece or chenille.
Allow 10-20% extra yardage to give you wiggle room. Underestimating is a rookie mistake when sewing stuffed animals!
Washing and Drying Fabrics
The next step is properly pretreating your fabrics before cutting out the patterns. Place all material in mesh laundry bags and machine wash in cold water with mild detergent. Tumble dry low. This pre-shrinks the fabric so your stuffed critter’s won’t distort out of shape over time.
Having to re-stuff a sad, floppy animal is no fun for anyone.
Cutting Out Pattern Pieces
Once your fabric is pre-treated, smooth it out on a large cutting surface. Using paper patterns or reusable template plastic, cut pieces according to your custom measurements. An extra pair of hands can be useful here for large, unwieldy sections like the body and limbs.
Take care to orient major pattern sections along any nap or pile for visual uniformity. Piece together smaller details like ears, tails, etc as needed. Careful cutting is crucial for professionally finished stuffed animals sewn by hand.
Now the real fun starts! With all your materials prepped and pattern pieces precisely cut, you have cleared the starting line. Time to stitch up an adorable new friend.
Sewing the Exterior Shell
Pinning and Cutting Out Fabric
Once you have selected your exterior fabric, the next step is to cut and pin the fabric pieces into the shape you want for your stuffed animal. First, use your pattern pieces to trace out the shape onto the fabric. Be sure to leave about 1/2 inch seam allowance around each piece.
Using fabric scissors or a rotary cutter will give you nice clean edges.
Next, arrange the fabric pieces how they will attach together and insert pins around the edges to hold everything in place as you sew. This will keep the fabric from shifting around and make sure your seams end up where you want them. Put a few pins around curves and corners to gently hold the shape.
Try to place them perpendicular to the raw edge rather than parallel so they are easy to remove later on.
Sewing the Body Pieces
With your fabric pieces pinned, you’re ready to sew them together! If using a sewing machine, select an appropriately sized needle and polyester or cotton thread that matches your fabric. Set the stitch length fairly short, around 1.5-2 mm, to get nice sturdy seams.
Start by sewing the main body panels together, removing the pins carefully as you sew the seam. Gently stretch curved areas or corners a bit to keep them smooth and prevent puckering. For tight angles, try pivoting the fabric instead of turning the whole plushie.
Once the main body pieces are attached, repeat pinning and stitching until all the outer shell panels are joined. Remember to leave an opening along one side so you can turn the whole piece right side out later on. Iron seams flat if needed and do a topstitch around the perimeter for a polished look.
Attaching Limbs and Accessories
To attach smaller pieces like limbs, ears, tails or decorative elements, pin them in place on the main body, aligning seams and edges neatly. Sew them with a slightly wider than usual seam allowance. Using too narrow of one could cause problems when you stuff the plush.
For round ball-jointed limbs, carefully line up shapes and evenly gather fullness. Once attached, trim close around the curved seam and gently notch inward cuts every 1⁄2 inch to let the fabric stretch and fill out smoothly when turned.
If adding eyes or other special details, hand stitch them at the end for best control over placement. Use a strong double knot at the start and end of threads to prevent loosening over time. Be sure any metallic, glass or plastic pieces are securely fastened!
Stuffing and Final Assembly
Stuffing Tips and Techniques
When stuffing a stuffed animal by hand, choose a soft fiberfill stuffing that is washable and hypoallergenic (highly rated options). Be sure to stuff evenly, but not too tightly or the toy will be misshapen and lumpy.
Lightly fill the limbs first using small pieces before stuffing the body (stuffing diagram). Use a chopstick to poke filling into tight spaces. Go slowly and check as you stuff to make sure it looks balanced 👍
Ladder Stitch for Invisible Seams
The ladder stitch is ideal for closing up hand sewn stuffed animals while leaving an invisible seam. Thread a hand-sewing needle and tie a knot at the end. Pinch the fabric edges together and take tiny 1/8 inch stitches perpendicular to the edge, first catching the back edge and then the front.
Pull gently so the seam draws closed without puckering. Continue down the opening (tutorial). Be patient and watch a show while ladder stitching for best results! 😊
Adding Facial Features
Facial features like plastic safety eyes or embroidered details give stuffed animals personality. Position eye placement in the top half of the face, leaving enough room for a nose and mouth. Embroider noses, mouths, eyebrows or freckles with a satin stitch outline and French knot details.
Use blush powder on snout areas for a layered look. Add personality with lashes, teeth or tongues using felt or fleece fabrics (photos). Get creative with facial features to make each stuffed animal unique! 🤩
Styling Fur, Hair and Accessories
The fur or hair on a stuffed animal can be styled for added realism. For a sleek look, spritz with water and gently brush. Use wig clips or tiny ribbons for ponytails or braids. To curl fur, wrap small sections around a pencil barrel and slide off carefully.
Use pet trimming shears to give fur a layered or shaggy texture (grooming tips). Add personality with miniature clothing items like hats, glasses or bow ties. The options are endless when it comes to styling handmade stuffed critters! 😍
Conclusion
Creating stuffed animals by hand allows you to make custom designs to cherish or give as heartfelt gifts. With some creativity and sewing skills, you can produce professional-looking plush toys. Start with an easy pattern, choose fun fabrics and stuffings, and don’t be afraid to give your animal unique style.
Your homemade stuffed creature will be a beloved keepsake for years to come. For more in-depth tips, check out our step-by-step stuffed animal tutorials.