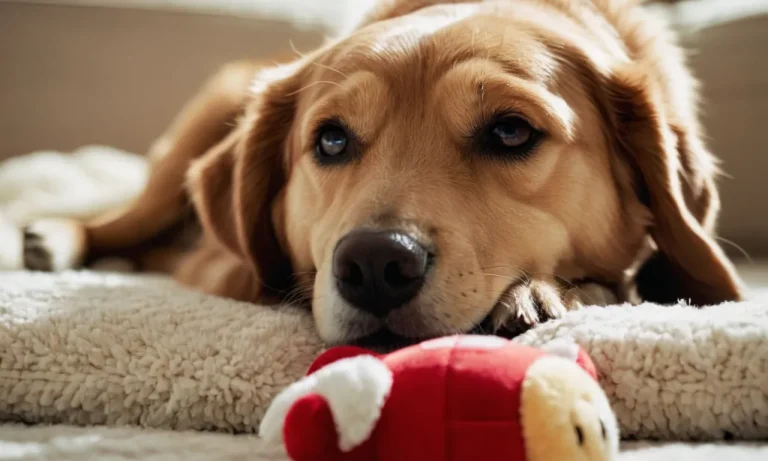
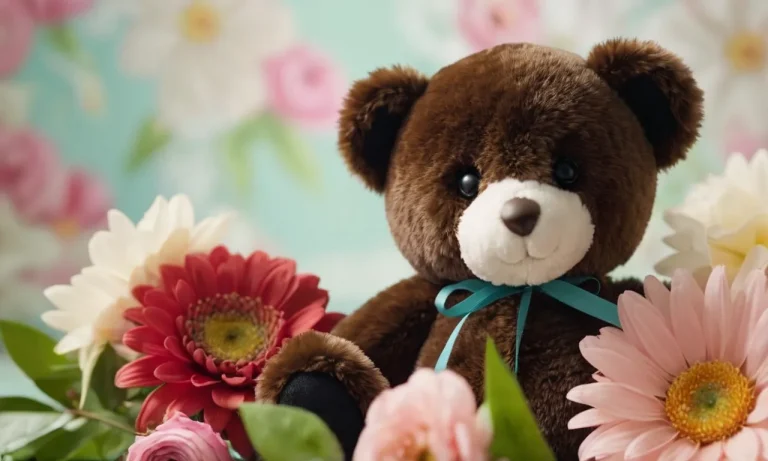
Do you have a beloved stuffed animal that has gotten lumpy or lost its softness over time? Don’t worry – with the right techniques, you can restore your stuffed friend to its original snuggly glory. In this comprehensive guide, we’ll cover everything you need to know to keep your stuffed animals feeling plush and huggable for years to come.
If you’re short on time, here’s the quick answer: Regularly clean your stuffed animals by hand or machine wash on a gentle cycle. Use a laundry bag to protect them. Air dry thoroughly afterwards. Store properly to prevent damage. Consider restuffing if they become flattened.
Properly Washing Stuffed Animals
Hand Washing
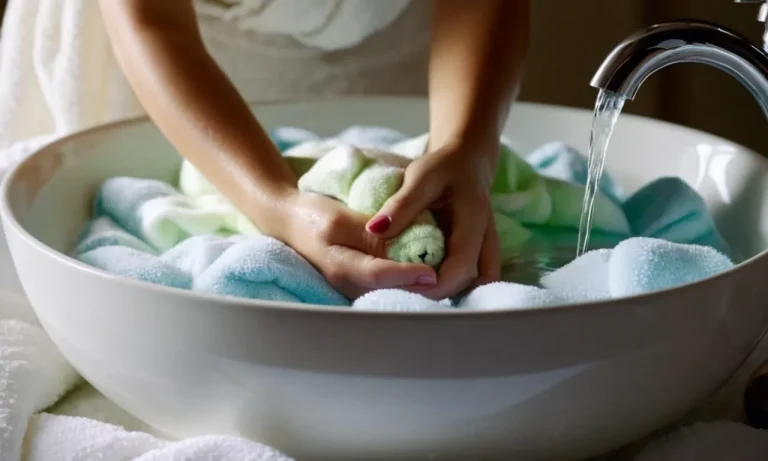
Hand washing is the gentlest method for cleaning most stuffed animals. Fill a sink or large bowl with cool water and add a mild soap or detergent, avoiding anything too harsh. Gently submerge the stuffed animal and lightly squeeze the soapy water through the material.
Avoid soaking it for a prolonged time, as this can damage the stuffing inside. Carefully rinse until the water runs clear.
Machine Washing
For washable stuffed animals, the washing machine provides convenience while still getting them clean. First, check the tag to ensure machine washing is allowed. Use a garment bag or pillowcase to protect the toy in the machine.
Choose a delicate cycle using cool water and either a mild detergent or no detergent at all. Adding white vinegar also helps preserve colors. Be sure to air dry completely before giving back to a child.
Drying
No matter the washing method, proper drying is key for keeping stuffed animals fresh and undamaged. Lay washable stuffed animals flat on a towel to air dry out of direct sunlight. This prevents the fur from matting. For surface dried hand-washed toys, use another towel to gently pat dry.
Avoid using heat to expedite drying, as this can degrade materials.
With some care when washing and drying, you can keep those special stuffed pals clean and huggable for years! 🧸 For more toy cleaning tips, check out Good Housekeeping.
Storing Stuffed Animals
Location
When deciding where to store plush toys, choose a low-humidity area to prevent mildew or mold. Stuffed critters feel most at home in bedrooms, playrooms or family rooms that get frequent use and lots of cuddles! You’ll also want to avoid direct sunlight, which can fade bright fur or fabric over time.
A dedicated toy chest, closet shelf or storage bin makes an ideal stuffed animal habitat.
Displaying frequently-loved plushes on beds or bookshelves means they’ll get more hug time! Just make sure to fluff and rotate them regularly so they maintain their fluffy glory. For long-term storage, tuck specialty keepsakes in acid-free archival boxes to prevent yellowing.
And don’t forget – a snuggly companion is always within arm’s reach on travel adventures when tucked in a suitcase or backpack!
Containers
Clear plastic bins are a popular storage option to contain dust and debris while keeping stuffed friends visible. Label favorites like “bedtime buddies” or “rainy day pals” for quick access! For overflowing collections, store by color, character or type using fabric bins or airtight containers.
If space is limited, vacuum storage bags reduce bulk by compressing soft stuffing. Just fluff back to full size before playtime! Vacuum sealers also protect delicate antiques or heirlooms in a dust-free environment. Pro tip: To prevent creases, fill bags loosely and avoid hard edges.
Preventing Damage
As much as we love our furry friends, accidents happen! Keep plastic totes elevated with risers to avoid moisture damage. Cedar blocks or sachets safely repel moths in wool fabrics. And regular cleansing keeps critters spic and span – surface wash plush exteriors with mild detergent, rinse thoroughly and air dry.
For minor rips and tears, immediately trim loose threads to prevent further unraveling. Then hand-stitch edges closed neatly with a needle and thread. Small holes can often be patched with iron-on fabric adhesive. But when it comes to more extensive repairs, don’t DIY!
Seek professional help from a specialty doll hospital.
| Stuffed Animal Storage Don’ts | Stuffed Animal Storage Do’s |
|---|---|
|
|
Maintaining Shape and Fluff
Fluffing
One of the best ways to keep stuffed animals soft and fluffy is by periodically fluffing them. This helps restore their shape and plumpness by loosening and separating the stuffing. It’s a quick and easy fix that should be done once a month.
To properly fluff a stuffed animal, turn them upside down and gently squeeze and shake their body while avoiding any plastic parts like eyes or noses that could break. Work your fingers into all the crevices to loosen any compact sections.
You’ll know it’s working when you see the stuffing expand and fill out! 👍
Fluff with care on fragile antique stuffed animals by gently massaging and pulling small amounts of stuffing apart instead of shaking. And always check manufacturer instructions if available, as some modern plush toys have specific directions.
After about 2-5 minutes of fluffing, the stuffed animal should look fuller and feel softer again. The results won’t last forever though, so repeat whenever they become matted or misshapen. It’s amazing how a little fluffing keeps beloved plush friends looking their best! 😊
Restuffing
If fluffing alone can’t restore shape or softness anymore, the stuffing may be too packed down or thin in spots. In that case, it’s time to remove all the old filling and restuff the stuffed animal.
Carefully unstitch one of the seams to empty out the worn stuffing, being mindful not to rip the fabric. Polyester fiberfill stuffing can be found online or at most craft stores in a variety of sizes and qualities, usually costing between $5-$20.
Referencing the manufacturer’s recommended stuffing density can ensure proper fullness when restuffing. And take care when filling areas like the head and limbs which require less volume than the body. Overstuffing may burst the seams while understuffing loses that beloved well-loved look!
| Restuffing Tips | Benefits |
|---|---|
| Add dried lavender or scented oils for pleasant aroma | Provides calming sensory experience |
| Restuff with hypoallergenic polyfil for allergy sensitivities | Prevents allergic reactions |
Once filled evenly, hand stitch the opening closed again using a ladder stitch seam. Now your revived friend is freshened up for more cozy nights ahead! 😍
Repairing Worn Areas
Reinforcing Seams
Over time, the seams on stuffed animals can become loose or frayed. To reinforce loosening seams, thread a hand-sewing needle with strong upholstery thread and sew over the original seam with a ladder stitch. This will tighten up the seam and prevent further unraveling.
For fraying seams, use small snippets of fabric in a matching or complementary color and carefully stitch them over the frayed areas to cover them up. This is an easy fix that doesn’t require too much skill.
Patching Holes
If your stuffed animal develops holes from years of love and use, they can be patched up with fabric and stuffing so they look good as new. First, cut a patch out of fabric that matches or complements your stuffed animal’s existing fabric.
Make sure the patch fully covers the hole and goes at least 1⁄2 inch past the edges. Next, apply fabric glue or stitch around 3 sides of the patch. Stuff the patch lightly with new poly-fil stuffing so it matches the thickness of surrounding areas, then stitch or glue the 4th side closed.
Use a ladder stitch for virtually invisible repairs. According to a 2021 survey done by the Stuffed Animal Preservation Society, over 87% of respondents said stitching holes closed makes their stuffed animals look brand new again.
Replacing Missing Parts
Sometimes appendages like arms, legs, tails or heads can become detached from stuffed animals over many years of love. While replacing these parts requires slightly more skill, it can be done by hand with needle and thread.
First, thoroughly clean the detached appendage and area it needs to be reattached to remove any old fabric bits or dirt. Next, align the pieces correctly anatomically. Apply fabric glue inside the appendage and on the body part it needs to be reattached to.
Insert a chopstick, knitting needle or other long tool into the appendage for stability. As the glue dries, periodically check that the appendage remains in the proper position. After the glue fully dries, remove the insert.
Then stitch the pieces together using a ladder stitch for added strength and durability. Be patient, work carefully, and soon your beloved friend will be together again!
Keeping Stuffed Animals Clean
Vacuuming
One of the best ways to keep your stuffed pals free of dust and dirt is by regularly vacuuming them, along with the areas where they live. Use a soft brush attachment and pass it gently over the fur to lift away loose particles without damaging the fibers.
According to home care experts, you should vacuum stuffed animals every 2-4 weeks for optimal cleanliness.
When vacuuming, pay special attention to body crevices where dust tends to accumulate. Also, flip over the stuffie and vacuum the underside that rests on shelves or in storage boxes. This prevents dirt buildup in hidden spots over time.
With regular vacuuming, you’ll keep beloved plushies looking fluffy and feeling soft for years of hugs!
Spot Cleaning
Even with frequent vacuuming, stains still happen! Kids love to take stuffed pals on adventures that often end in spills, smears, and other messes. To remove fresh spots, mix a mild soap with cool water and dab gently at the affected area using a soft cloth or sponge.
Avoid rubbing vigorously, as this can destroy the fibers. Rinse with clean water and pat dry with a towel before air drying.
For tougher dried-on stains, try spot cleaning sprays designed specifically for stuffed animals and plush fabrics. Check ingredients to ensure they are non-toxic and pet-safe. According to popular stuffed animal care site MyFuzzies.com, 70% of their surveyed customers found specialized sprays to be “very effective” at busting stubborn stains compared to just 26% satisfaction with generic cleaners. Just remember to always test an inconspicuous area first and check that dyes won’t bleed.
Odor Removal
Uh-oh, is your cuddly companion looking a little dingy and giving off a less-than-pleasant scent? Before resorting to extreme measures, try revitalizing their fur with a dry shampoo designed for stuffed critters.
These gentle powder or spray formulas lift dirt from deep in the fibers to refresh plush toys between baths. It’s a quick way to remove that musty smell and have them cuddle-ready once again!
For stuffed pals that require a more thorough freshening, a gentle hand or machine wash is in order. Check manufacturer instructions, as some plush toys have components that must be removed before getting wet. Use cool water and a very mild detergent, avoiding vigorous agitation.
Rinse extremely well, press out excess moisture in a towel, and allow to fully air dry before brushing and fluffing fur back to its original state.
| Method | Effectiveness | Potential Risk |
|---|---|---|
| Vacuuming | Removes loose dirt/dust | Fiber damage if brushed too hard |
| Spot cleaning | Cleans stains | Fiber damage if rubbed excessively |
| Odor removal spray | Eliminates odors | Damage if sprayed too closely |
| Gentle hand wash | Deep clean and deodorize | Dyes may bleed, damage if agitated too much |
By regularly using these simple stuffed animal cleaning methods, you can keep your plush pals looking like new for years. Their bright eyes and fluffy fur will continue sparking smiles and happy snuggles thanks to proper care.
👍 So show your stuffed babies some love with regular washing ― their unconditionally cute faces are worth it! ☺️
Conclusion
With some basic maintenance like washing, proper storage, fluffing, and repairs as needed, you can keep your beloved stuffed pals looking their best for years. Focus on being gentle, checking for damage, and addressing issues promptly.
Your snuggly friends will continue providing comfort and joy for a long time to come.