Has your favorite stuffed animal seen better days? Over time, stuffed toys can develop wrinkles that make them look worn. If you want to revive your stuffed friend, there are several easy techniques you can use to get those wrinkles out.
If you’re short on time, here’s a quick answer to your question: Use a garment steamer, spray starch, or even just some water and time to relax the fibers and smooth out wrinkles in stuffed animals.
In this comprehensive guide, we’ll cover everything you need to know about getting wrinkles and creases out of plush toys. You’ll learn the best methods and products for defuzzing, fluffing up stuffing, removing stains, reshaping matted fur, and more.
With a little time and TLC, you can have your beloved stuffed pal looking brand new again.
Evaluate the toy’s material
Identify fabric type
The first step is to closely inspect your stuffed animal and identify what type of fabric it is made of. Common materials include polyester, cotton, felt, velour, chenille or blends of natural and manmade fibers.
Knowing the fiber content will determine the best cleaning approach and how much heat or agitation can be used without damaging the toy.
Natural materials like 100% cotton, linen or silk are usually safe for more vigorous rinsing or can typically be machine washed cold and air dried. Delicate materials like wool, velour or chenille may require handwashing to prevent pilling or unraveling of the fibers.
Check stuffing material
Peek at any seams or openings to see what type of stuffing is inside. Typical stuffing materials include:
- Poly-fill – a man-made polyester that resembles cotton.
- Foam – varies in thickness and density.
- Plastic pellets – usually only in weighted toys like bean bag animals.
- Organic fill – wool, straw, wood shavings or beans.
- Batting – a thinner cotton or wool stuffing for sewn or knitted animals.
Knowing the filling guides the approach to drying and if the toy can be machine dried on low or needs to be completely air dried to prevent melting or distorting misshapen stuffing inside.
Consider any special coatings
Look closely at the surface of the stuffed animal for any special finishing coatings such as:
| Glossy coatings | Usually a thin plastic layer to add shine and durability. Avoid excess submerging in water. |
| Flame retardant | Required for most children’s polyester stuffed animals. Check tags for confirmation. |
| Stain protection | Some higher end plush toys have factory applied stain guard. Test cleaning first. |
Identifying any special finishes allows for safely targeting problem areas for spot cleaning without ruining the toy. Delicate coatings may dissolve or peel, so it’s best to leave them out of any soaking attempts.
Try low-risk smoothing techniques first
Before turning to more extreme methods, try some gentle techniques first to smooth out wrinkles in stuffed animals. These low-risk methods are easy to do at home and avoid potential damage from harsher treatments.
Use a garment steamer or iron on low heat
One of the safest ways to tackle wrinkles is using a garment steamer or iron on a low heat setting. The steam helps relax the fibers, while the light pressure smooths things out. Be sure to keep the iron moving constantly so you don’t risk scorching the fabric or stuffing.
Spray with starch and reshape
For stubborn wrinkles, try this clever trick: Lightly mist the area with starch spray, then gently reshape and smooth the stuffed animal by hand. As the starch dries, it will help set the toy’s fabric into its new wrinkle-free form. This works well on soft materials like plush fur.
Mist with water and let dry naturally
For a gentle approach, lightly mist wrinkled areas with plain water then reshape the toy by hand. As the moisture evaporates, smoothed-out areas will dry into their new position. Avoid soaking the toy since excess water can damage materials and stuffing over time.
Let it fully air dry before playing or storing.
By starting with these low-risk home methods first, you can often coax the wrinkles out of a beloved stuffed friend without causing any damage. But if they still refuse to smooth out, it may be time to try some stronger but more risky techniques next.
For deeper wrinkles, wash and air dry
Hand wash gently in cool water
When dealing with deeper wrinkles that are not coming out with regular brushing or steaming, a gentle hand wash in cool water is recommended as the first step. Choose a mild detergent, preferably one labeled as safe for delicate fabrics.
Make sure the water is lukewarm, not hot, as the stuffing and fabric could be damaged. Submerge the stuffed animal in the water and gently manipulate the fabric to loosen the creases without damaging seams. Allow it to soak for 5-10 minutes so the fabric has time to relax.
Be very delicate when squeezing water out after washing, and avoid retwisting areas that are wrinkled as excess handling can worsen creases. It’s ideal to place the toy between two towels and gently apply pressure to remove excess moisture.
Then move on to thorough air drying before attempting to brush or restuff.
Air dry thoroughly before brushing and restuffing
This is a key step, as brushed or restuffed while damp, wrinkles can become set into the fabric. Find an indoor area with good airflow, away from direct sunlight which could fade colors over time. Position the plushie in its natural pose, smoothing and lightly pulling on appendages or other wrinkled areas to relax the fabric into a smoother look.
Allow 24 hours if possible for complete drying.
Once totally dry, the fibers will hold a smoother shape much better with brushing. Deeper creases can often be ironed out through careful restuffing to gently stretch the interior cotton batting. For best results, use a quality poly-fil stuffing to replace any clumped or flattened original stuffing.
Be extra careful with electronics or sound-makers
If your stuffed friend makes noise, has lights inside, or has an electronic component like voice box, display extra care when washing. Consult the manufacturer’s washing recommendations, as inappropriate washing can damage circuits.
Typically, surface wash only without full submersion is best for plush toys with electrical parts. Use minimal water applied gently with a lightly dampened cloth. Clean gently around seams and openings to avoid liquid penetration into the interior.
Thoroughly air dry upright before reinserting batteries.
For stubborn wrinkles, specialized crease-releasing sprays may be an option, but test first in an inconspicuous area. Again allow to fully air dry in natural form to avoid heat damage to electronics when ironing or steaming.
With some mild laundering tips for basic plushies and extra precautions for electronic pals, you can get out those pesky wrinkles. Just remember—always treat your snuggly friends with care! They give us immeasurable comfort and deserve gentle handling in return.
😊 With a little patience and air drying time, they’ll soon be wrinkle-free.
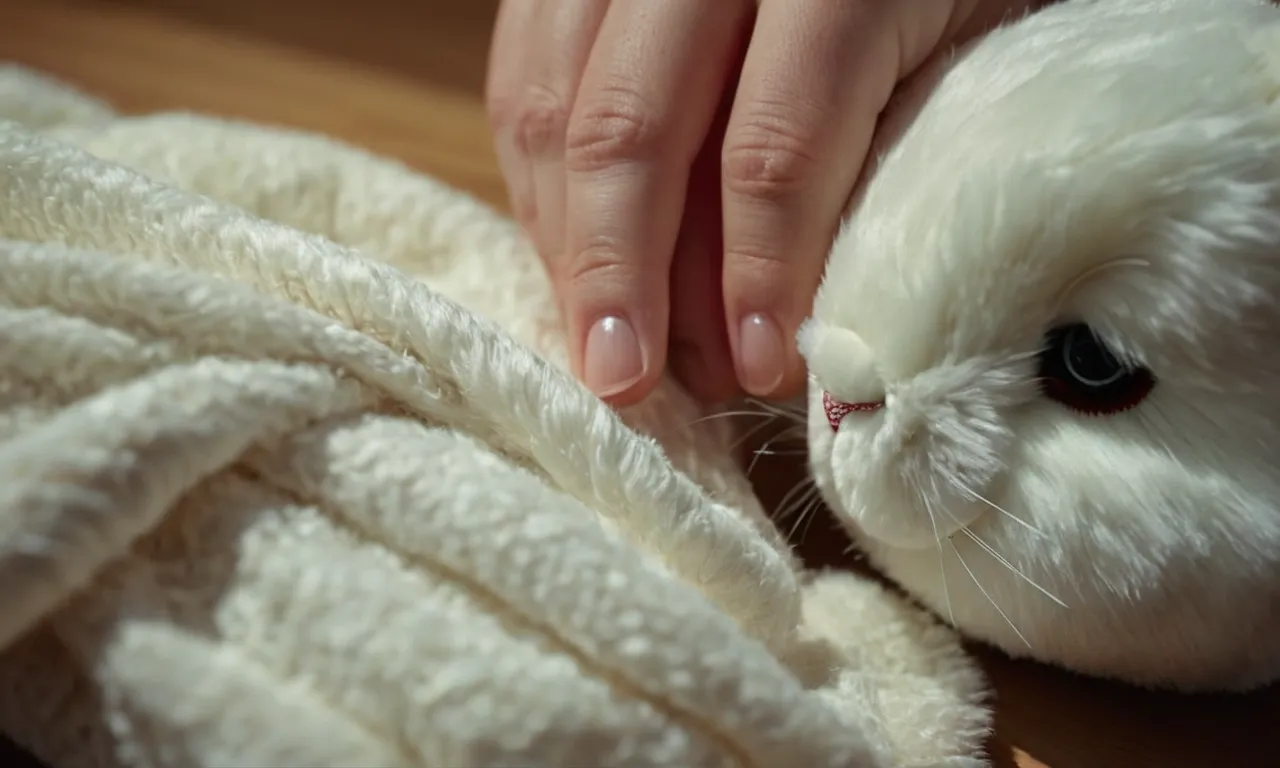
Remove matted clumps of fur with delicate brushing
Over time, your beloved stuffed animals may develop knots and tangles in their synthetic or natural fur. Gently working out these matted clumps helps restore their soft, huggable texture. With care and the right tools, you can brush out fur clumps without damaging the underlying fabric or stuffing.
Use a special pet grooming brush
Invest in a specifically designed dematting brush for stuffed animals. These feature gentle, rounded-end metal tines to separate and lift fur without pulling or cutting it. Quality options like the Safari Dematting Comb for Pet Grooming safely work through tangles.
Compare features and reviews on sites like Chewy to choose the right dematting brush for your needs.
Separate and fluff clumped fur little by little
Work slowly and patiently when dematting. Avoid forcing or pulling at stubborn tangles, which risks damaging the materials. Instead, gently lift small sections of the matted fur up and away from the fabric with your brush.
Use short strokes to tease apart connections bit by bit until the area regains loft and flexibility. Repeating this process strategically throughout the clump will eventually dissolve it completely. Patience pays off for the fullest fur recovery!
Consider trimming irrevocably felted areas
In extreme matting cases with thick, fused clumps, you may need to carefully trim some fur. First attempt to demat bordering areas, which often allows the main clump to relax its bonds somewhat. If portions remain hopelessly compacted, use sharp embroidery scissors to remove them at the base rather than struggling to brush them out.
Leave as much length as possible for a natural look. You can also even out any uneven patches left behind with careful trimming. Only cut when essential for freeing and reviving the surrounding fur.
By arming yourself with the right grooming brush and methodically working out snarls, you can breathe new life into beloved stuffed pals. Don’t be discouraged if the process feels slow at first. The results of restoring their soft, fluffy fur will prove rewarding for years of rekindled cuddles to come!
If you come across any especially daunting tangles, don’t hesitate to enlist an extra set of hands. A patient assistant can take some of the physical effort out of stubborn dematting sessions.
Refresh limp stuffing for full, plush texture
Over time, a stuffed animal’s stuffing can become flattened and lose its plush, cushy texture. Refreshing the stuffing is key to restoring your beloved stuffed friend to its soft and huggable glory. Here’s how to fluff up limp stuffing for maximum squishiness.
Add more poly-fil stuffing if needed
Examine the level of existing stuffing in your stuffed animal. If the stuffing is very depleted in areas, you may need to add new polyester fiberfill stuffing to plump things up. Poly-fil stuffing is available at craft stores in bags or boxes.
Simply use a spoon or stuffing stick to tunnel some fresh stuffing into flattened areas through small openings.
Break up and distribute old stuffing evenly
Even old, matted down stuffing can be revived in most cases. Carefully pull apart chunks of flattened stuffing to loosen the fibers. Use a stuffing stick or chopstick to fluff and separate the stuffing into a fine, fluffy texture again.
Distribute the refreshed stuffing evenly throughout the stuffed animal, adding some here and there until you achieve an even, full shape.
Consider replacing very flattened areas
If certain sections of stuffing are extremely flat with no spring back, the stuffing may be too far gone in those spots. You can cut out those problem areas and replace just those bits with fresh stuffing.
Simply make a small slit, remove the problem stuffing, and insert nice fluffy new poly-fil stuffing in its place. Then hand-stitch the slit closed.
With a little TLC, you can breathe new life into a beloved stuffed friend’s stuffing. Properly refreshed stuffing makes all the difference in restoring that delightful squishy, huggable texture. Just follow these handy tips, and you’ll be cuddling a plush as good as new in no time! 😊👍
Conclusion
With some elbow grease and these handy techniques, you can give your treasured stuffed friend new life. Removing wrinkles helps restore your toy’s charming appearance so you can continue enjoying happy memories.
Just be sure to handle fragile areas gently and avoid any cleaning methods that could cause harm.
Now that you know how to get wrinkles out of stuffed animals, you can start reviving your collection. It’s very rewarding to see your beloved plush pals transformed from worn to cuddly again. With the right approach, even longtime favorites can look good as new.